How I set up my DSP-10 for use with a Yaesu FT-736R


    The DAC L and ADC L audio lines are rerouted through open frame, closed circuit 1/8" audio jacks mounted below the 8 pin accessory jack ,  J108. I bought the 1/8" jacks from Radio Shack as part #  274-248. Operation is normal until a jack is inserted. The jacks allow interception of the signals to and from the DSP for use with a different radio. 

The 736 has more audio drive available than I 
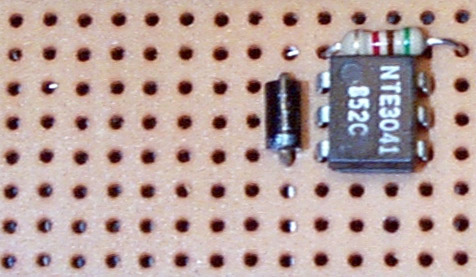
needed, so I built an attenuator into a 1/8" audio plug. An attempt was made to keep impedance close to 8 ohms. I experimented using a pot as the coupling resistor, then picked a fixed value close to the setting after I was happy with the performance. 1/8 th watt resistors fit inside the plug housing.


The maintenance manual suggests 15 millivolts into the mike connector for full deviation in FM mode. With no further clues I experimented with drive levels and came up with this circuit to cut the drive from the DSP-10.  This gives 736 settings that don't require resetting when using the microphone in normal (no DSP) operation.  600 ohms impedance was suggested in the manual as the best drive impedance, so I made an attempt to keep the impedance close to the design goal, using standard available parts.


This is the interface I used to key the 736. The transmit audio jack and the keying interface are only an inch apart on the DSP-10, so I used a microphone cable to carry both audio and keying to the microphone input. This board is actually mounted inside the DSP-10 enclosure and connected to an RCA phono jack mounted below the RS232 jack.  Keying is from PIN 1 of the ACC'Y jack, and PIN 5 of the optocoupler connects to the RCA jack.

The interface provides logic inversion required between the accessory jack and the Yaesu, as well as isolation.

If you are using a differrent radio, I would suggest checking the current required in the keying circuit. The 736 measured .05 milliamps. If  the current is less than 100 milliamps, this should work for you. Audio drive levels, both ways, might vary, depending on whether you use speaker/microphone connections or  an accessory connection on your unit.

Here's a different keying arrangement which also works well.  Parallel port keying

After the installation all that is needed is to select transverter O, (not zero), and plug in the three connections, IN, OUT and keying. The other end of the "in" is to the external speaker jack on the back of the 736, and the microphone is replaced by the cable with the OUT and KEYIN
G.

Run the 736 in USB, check drive and audio and you are done. All tone modes (PUA43, LTI, CW, LHL7 ) are available in transmit.  Voice modes are not.

Receive audio is only in one speaker, no stereo when the external audio jack is connected... but the sidetone still works in transmit.

If strange operation is experienced, check in UHFA.CFG for these entries:

tvtr 15  |15 kHz I|  0 -1 -143085000.0 1  |  |  17.000 0 16 0.0 0  (line #105)

vfo 15 15 0 0.0 0 0 0.0 0 0 0 0  (line #118)

BACK